9 · Setting up and managing your account#
Set Mechbase up so every person sees exactly the sites they’re responsible for — and nothing else. This chapter is for owners and administrators: it covers building out a site (including importing it from a spreadsheet), managing installations, and the part unique to admins — managing people, access, and single sign-on.
Two kinds of setup#
It helps to know that Mechbase administration happens in two places:
In the app — building out the content of a site: its sections, zones, assets, measurement points, alarm overrides, routes, bearings, and devices. Any member of the site can do this through the normal Mechbase screens you’ve already seen, and staff can also build dashboards.
In the back office — managing people and installations: user accounts, who belongs to which site, who is staff, single sign-on, and installation-wide alarm defaults. This is done by a system administrator in Django administration (
/admin/), a separate, plainer admin interface behind the main app. For most customers, that’s Arpedon.
Building out a site#
Everything that makes up a site is created and edited in the app, top-down:
Sections — from the menu, Sections → Add a section.
Zones — on a section page, Add Zone (
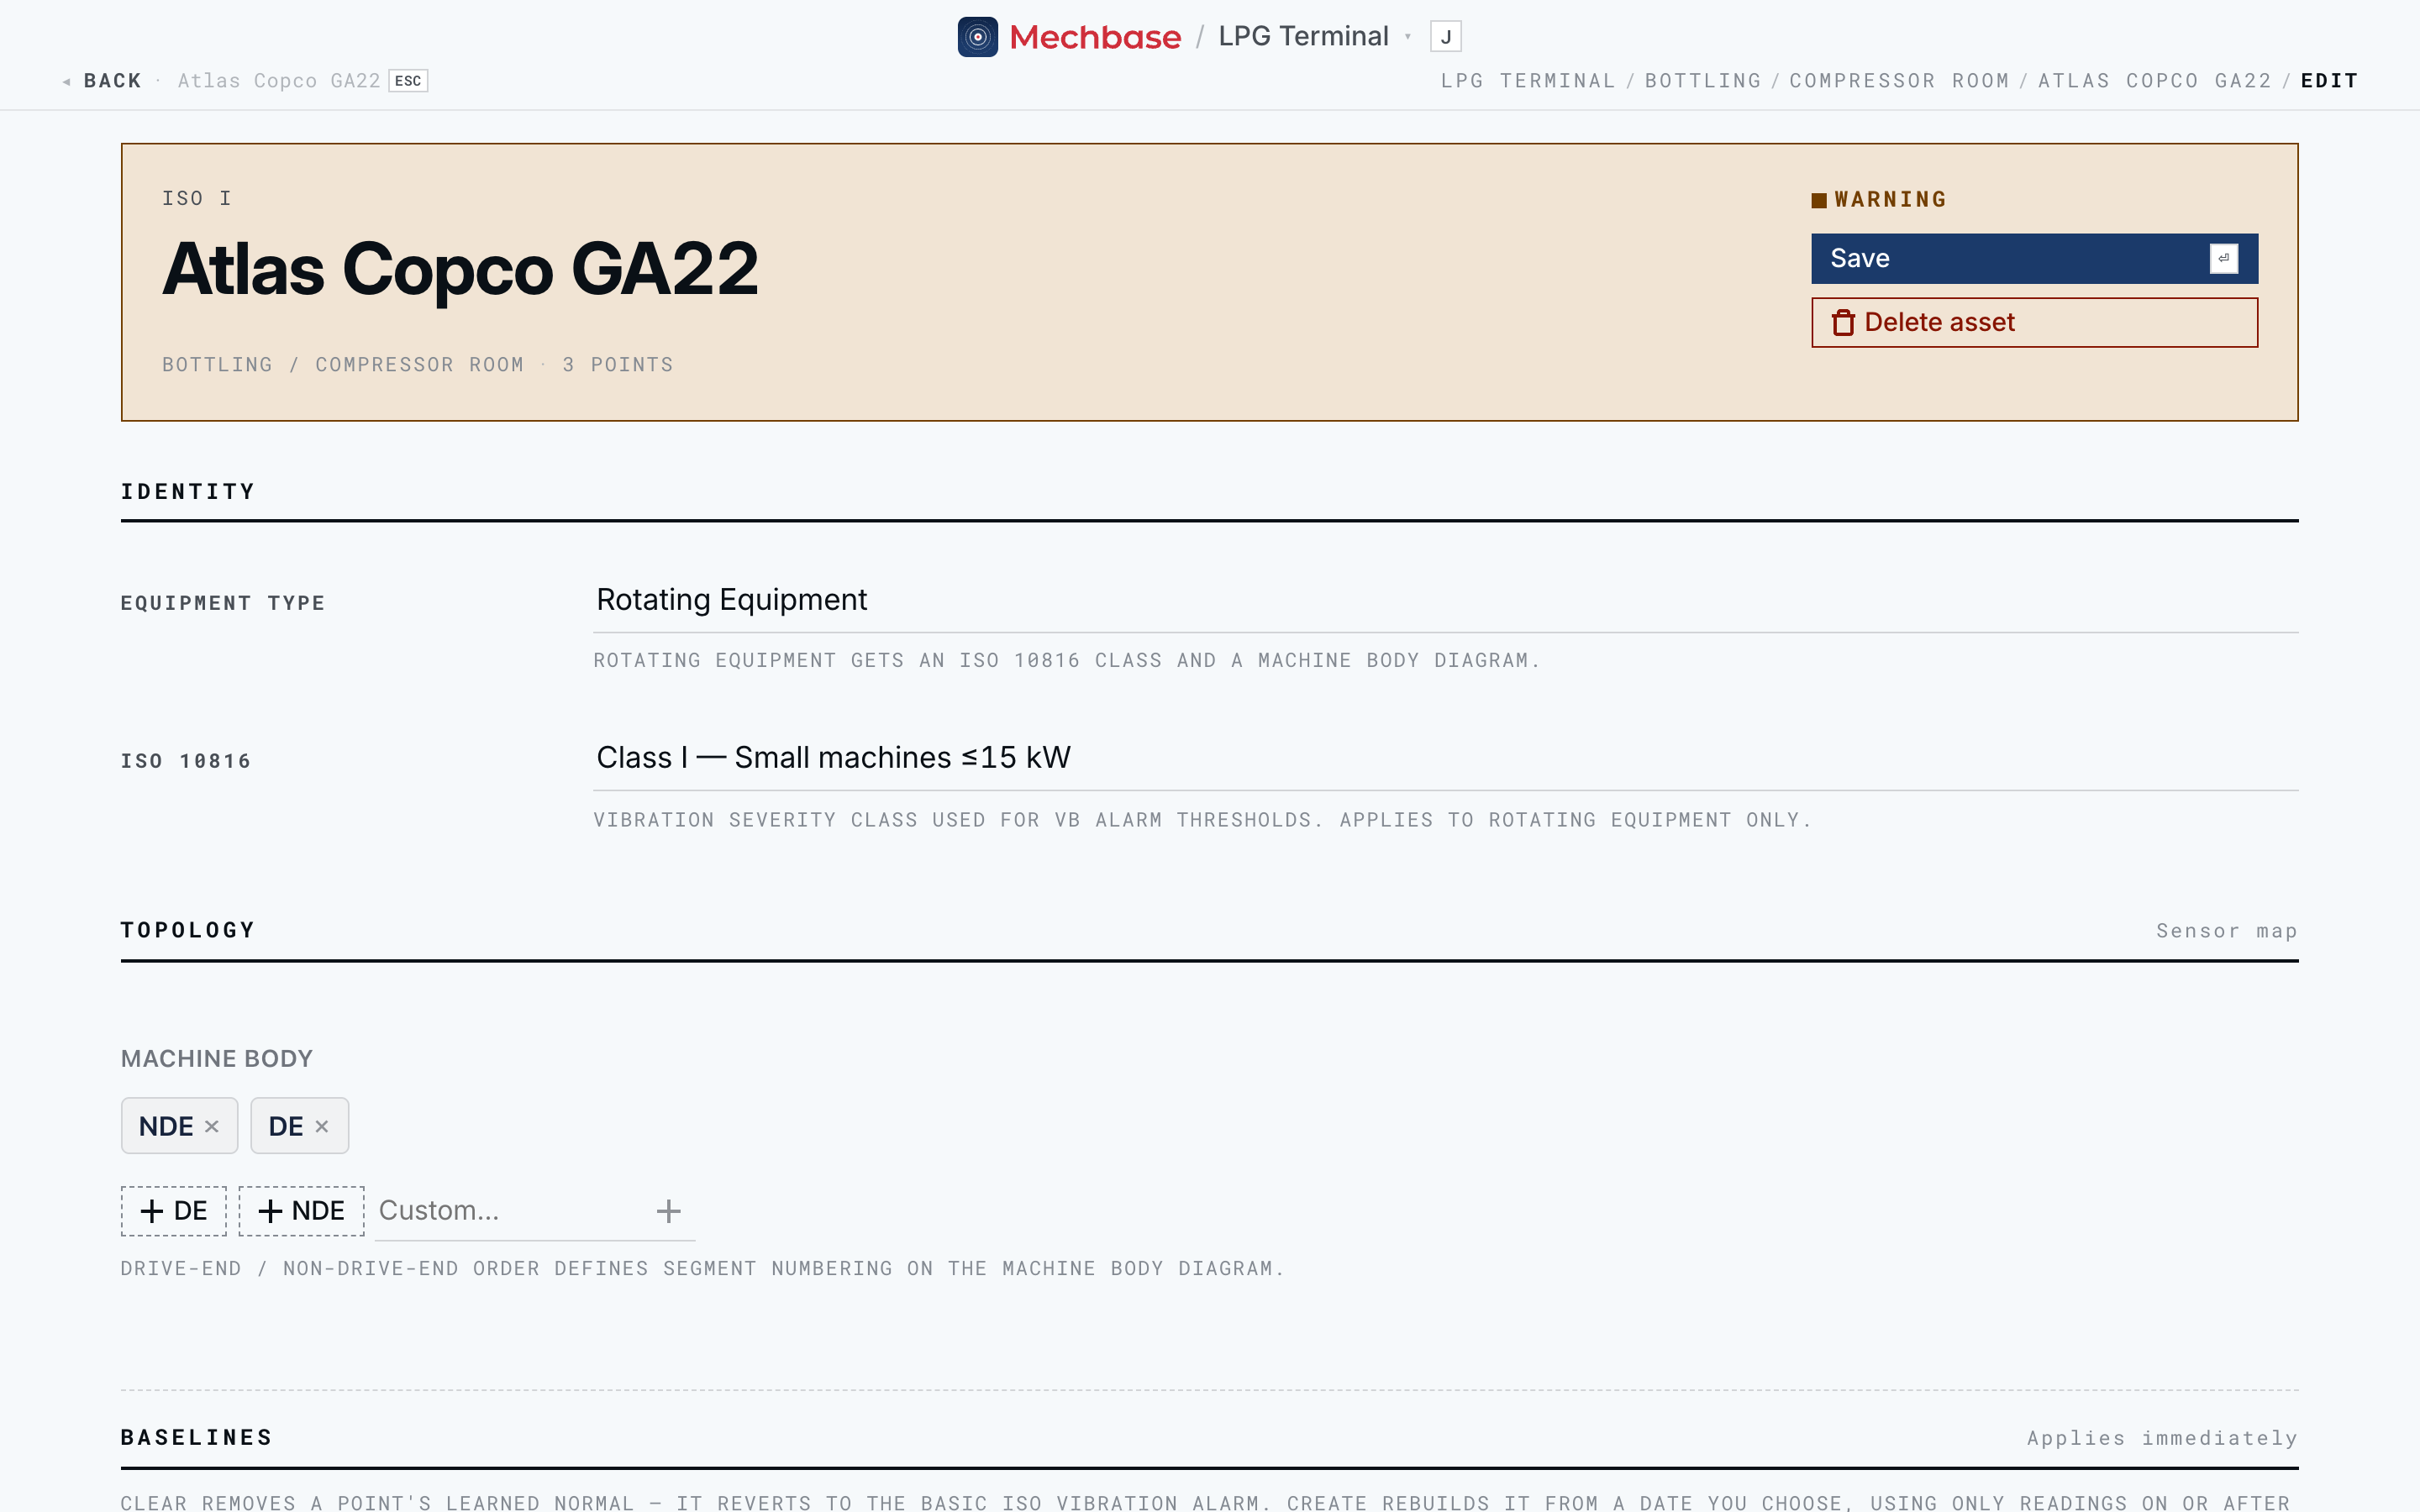
Z), or import them in bulk (next section).Assets — the Add asset row in a zone: give it a name, then open it and use Edit to set its Equipment type, ISO 10816 class, and machine body (Working with assets).
Measurement points — on an asset, Point (
P), then Edit to set the location, sensor, bearing, instructions, photo, and data source (Working with assets).Bearings — Setup → Bearings, if a bearing you use isn’t in the library (Measurements, trends, and alarms).
Devices — Setup → MaintNode Devices, to claim hardware and connect it to points (MaintNode devices and automatic data).
Alarm overrides — per point, where the defaults don’t fit (Measurements, trends, and alarms).
Routes — New Route (
N), then build the checklist from stops and checks (Inspections and routes).Dashboards — staff only: Dashboards → New dashboard (Finding your way around).
In short, the earlier chapters are the site-building guide — this section just points to the order to do it in: sections → zones → assets → points → sources → alarm overrides → routes → dashboards.
Importing zones and photos#
For a large site — a hotel, a hospital, a ship with hundreds of rooms — typing zones in one by one isn’t practical. Setup → Zone types & imports brings them in from the spreadsheets you already have.
Import zones. Click Import zones, then Choose room list, and pick an
Excel (.xlsx) or CSV file. Mechbase looks for a header row with a room column
(Room number, New room number) and a Building, Level, or Section
column; optionally a Room type or Room subtype column for the zone type, and
a Room number as is or Alias column for an old number. Greek headings
(Δωμάτιο, Κτίριο, Όροφος…) work too. Sections are named Building L
Before anything is saved you see a preview: how many zones are new, will be updated, or are unchanged, which sections and zone types will be created, and any rows that were skipped and why. Click Import N zones to go ahead. The import only ever adds zones and sets their type and alias — it never deletes or moves anything — so if a column was wrong, fix the file and import again.
Zone types. Each zone type from the import is listed on Zone types. Open one to add Shared documents — drawings, circuit schedules, datasheets — that then appear on every zone of that type.
Import photos. Click Import photos, zip a folder of site photos with one
sub-folder per room (for example ΔΩΜΑΤΙΟ 1321/PHOTO-2026-10-30-08-50-39.jpg), and
click Choose zip and import. Each photo goes to the zone named by its folder
(matched on the zone name, then its alias), dated from the file name or the photo’s
own data. Re-uploading the same folder later only adds the new photos; anything that
isn’t an image, or doesn’t match a zone, is listed as skipped.
Managing your installations#
An installation is a whole site. The sites a user can open are listed on their installation picker (Getting started) and under Installations in the menu.
Creating a new installation, and setting its top-level details, is done in Django
administration under Installation → Installations. Each installation gets a
number automatically (it appears in the web address, like /2012/).
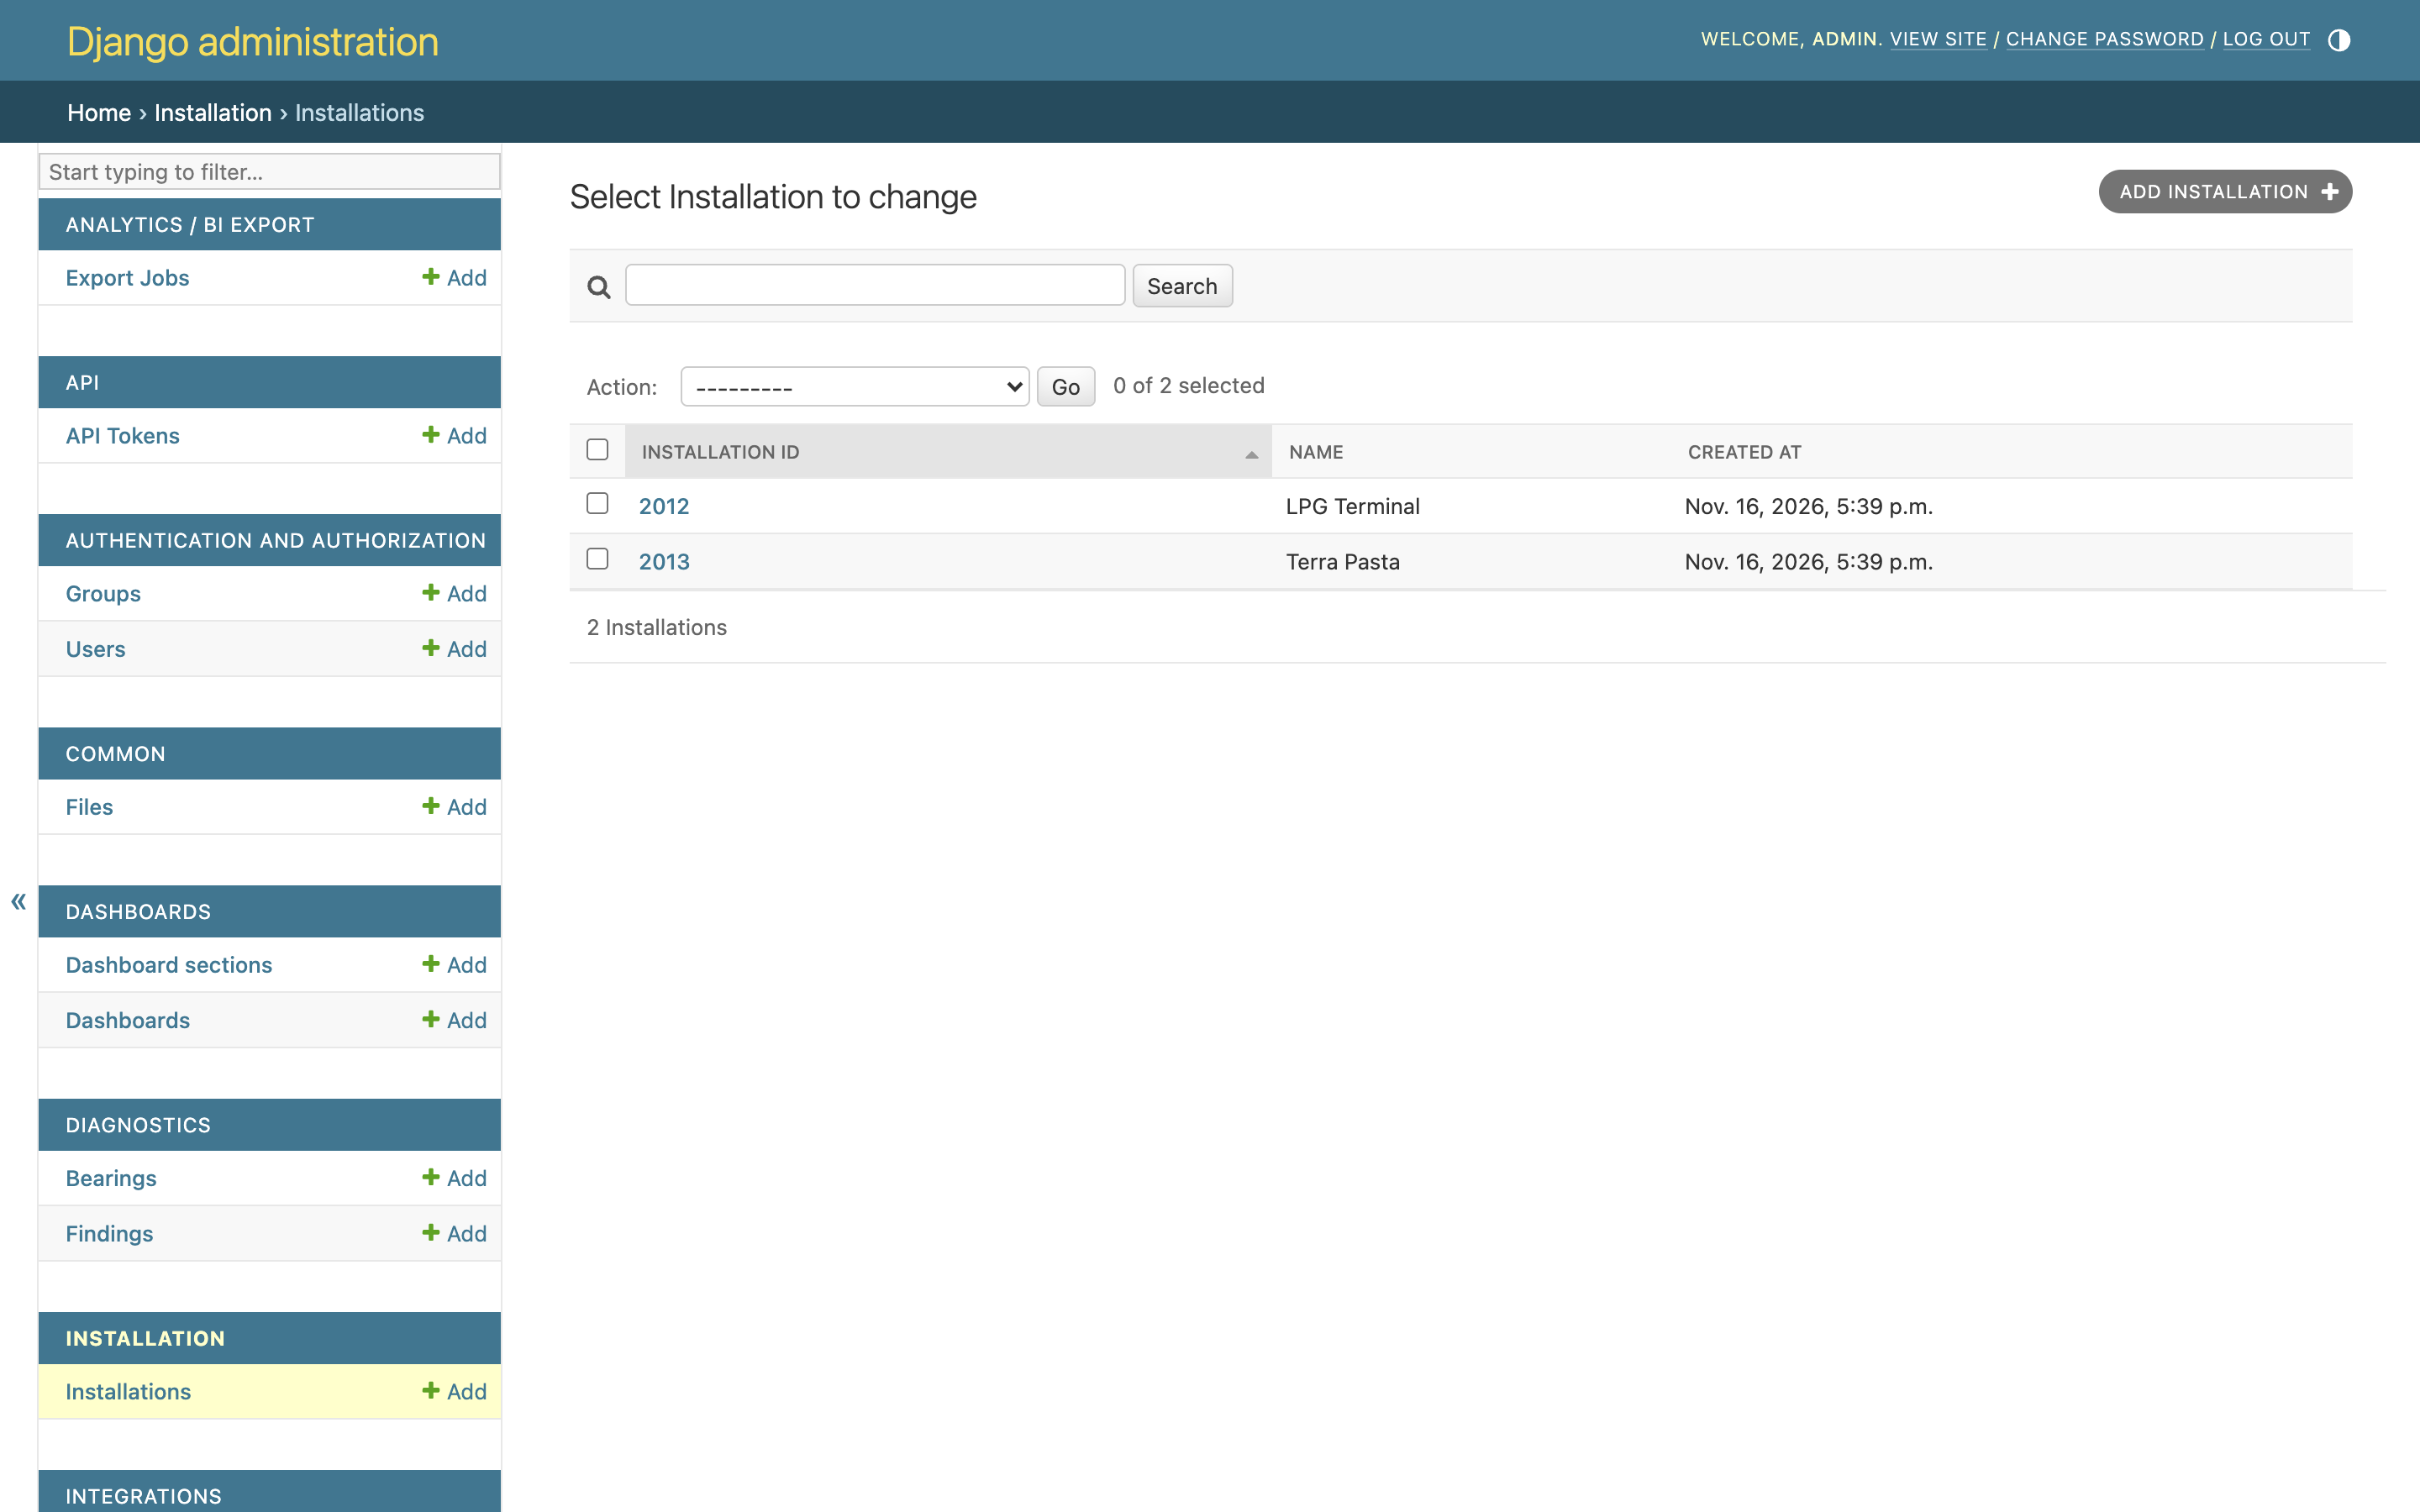
Open an installation to change its Name, its Owner, and its Users — the people who can open it. Once a site exists and you belong to it, you build it out using the in-app tools above.
People and access#
Access in Mechbase is deliberately simple:
Membership. A user can open an installation if they’re in its Users list (or are its Owner). Inside it, they can see and do everything.
Staff. A user marked as staff can also build and edit dashboards, amend other people’s inspection runs, delete equipment that already has recorded history, and sign in to Django administration.
That’s the whole model — there are no per-feature roles to configure.
Adding a person#
Open Django administration at
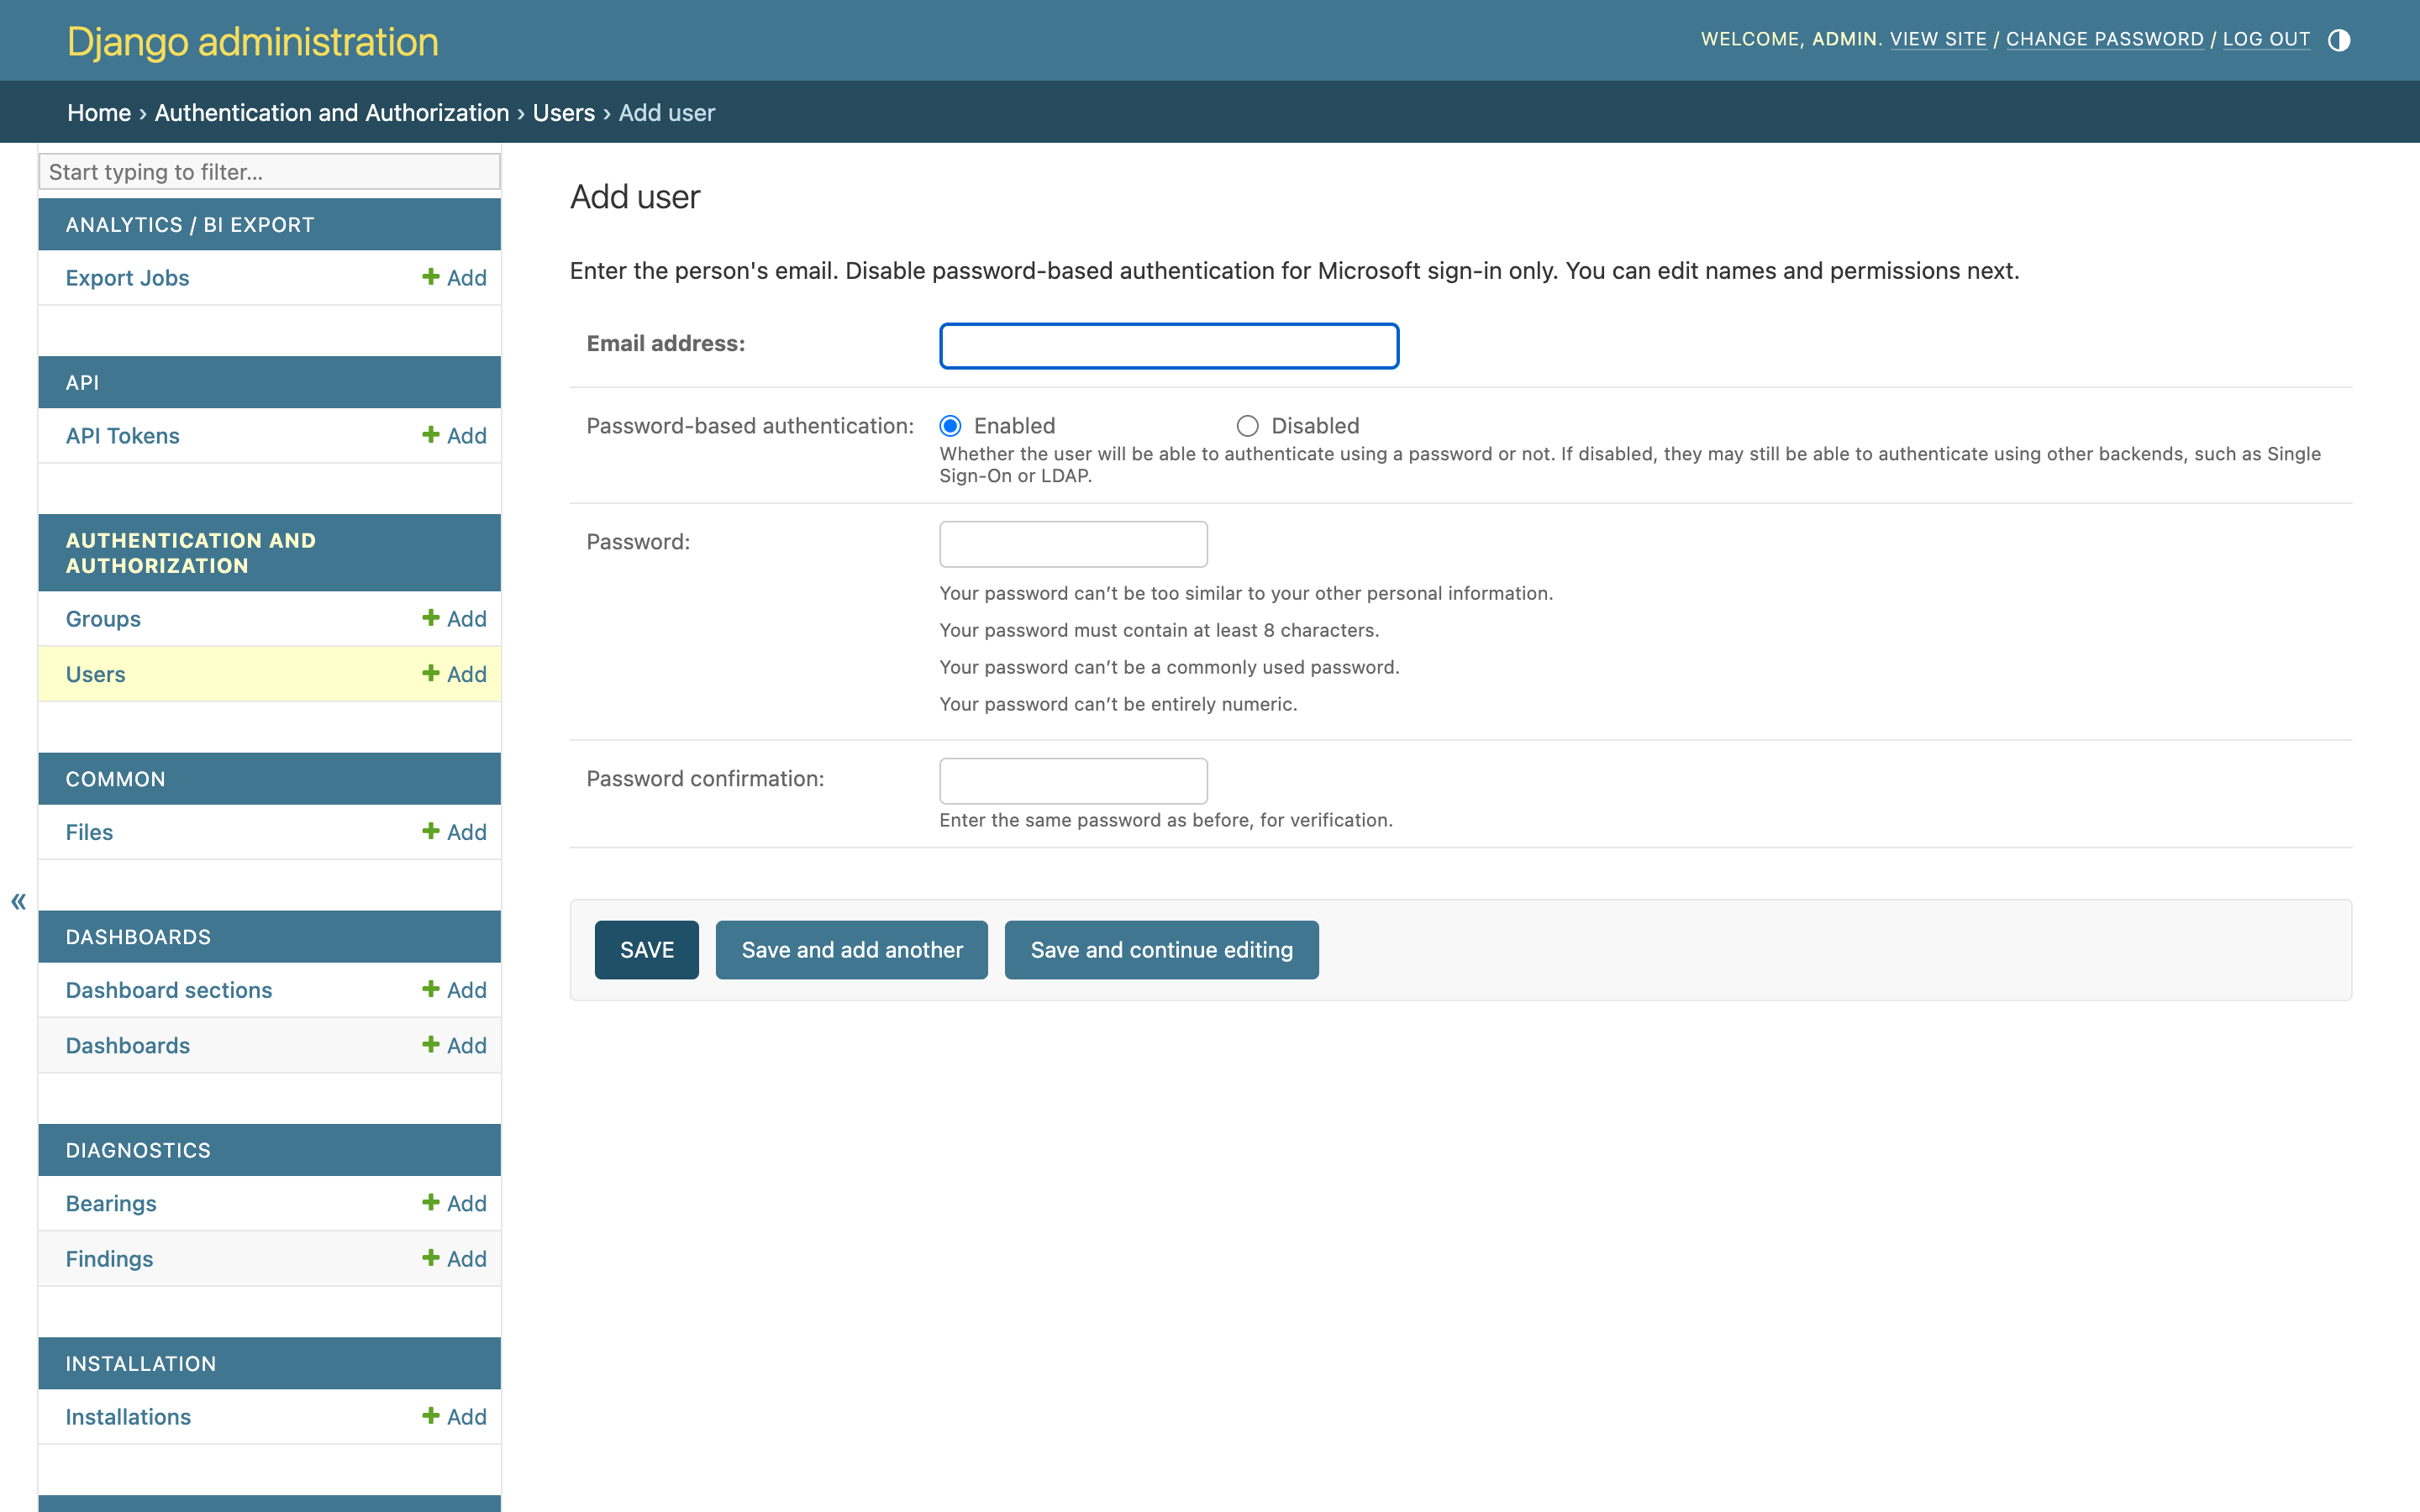
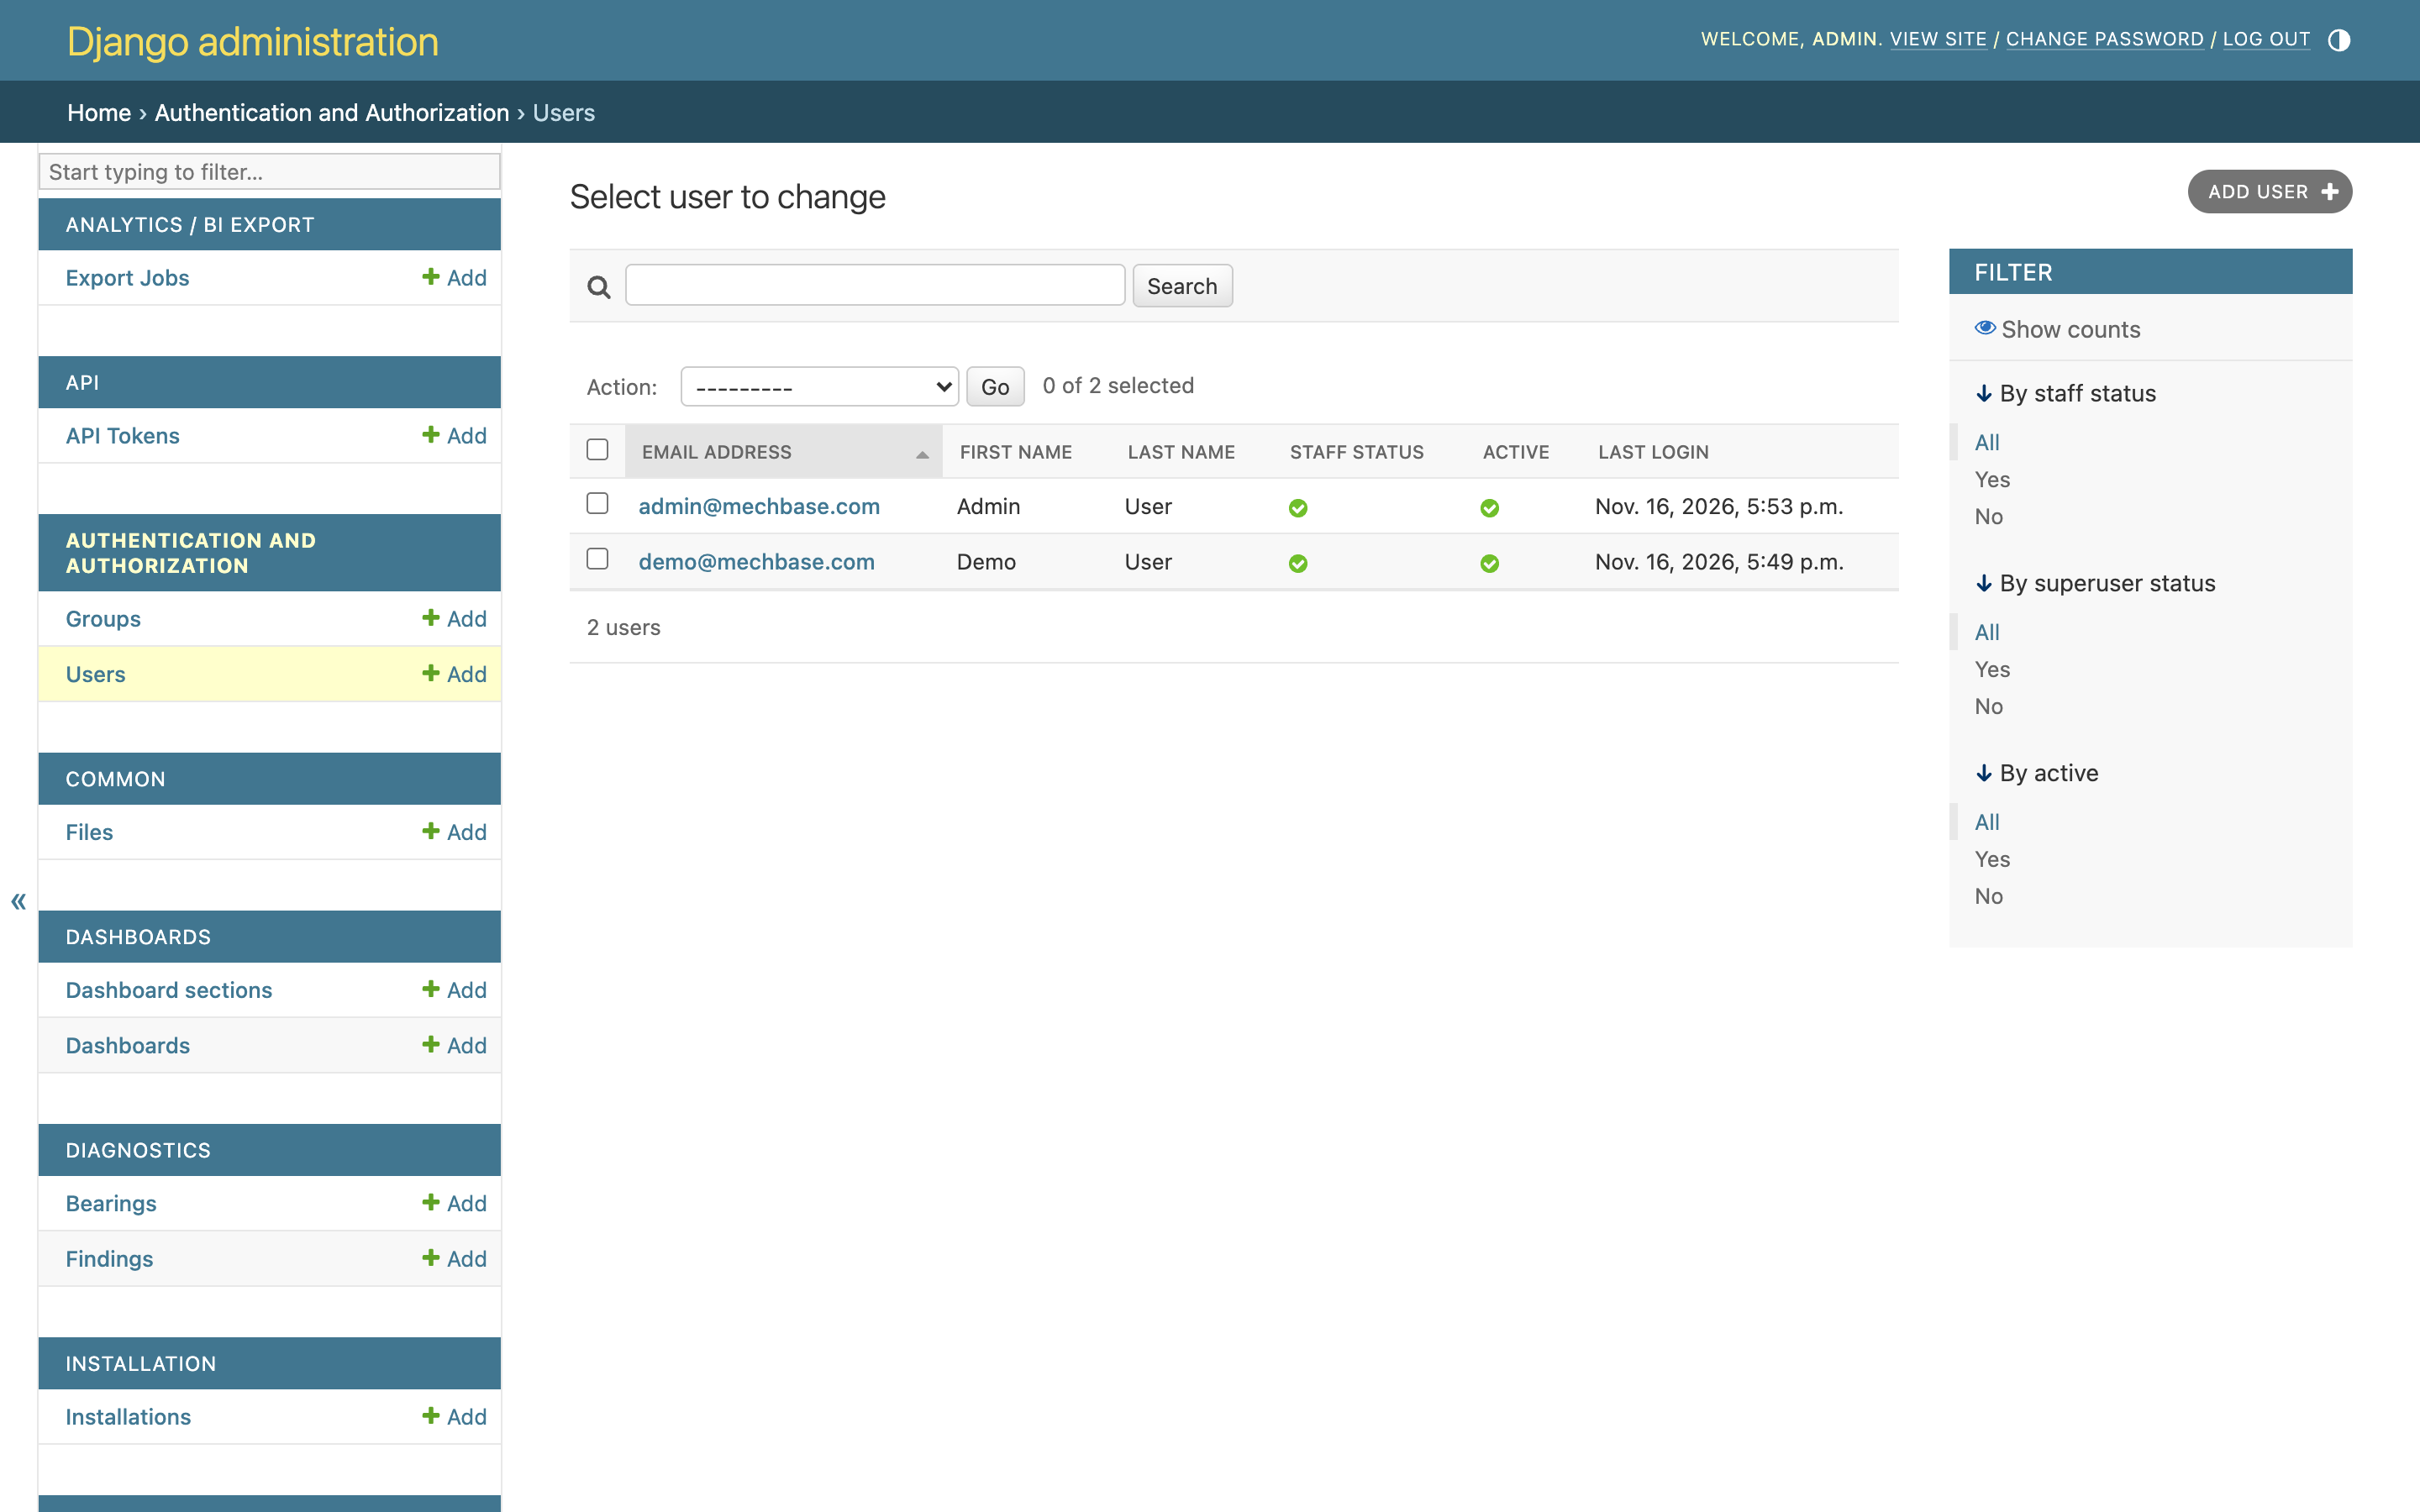
/admin/(you need an administrator account).Go to Authentication and Authorization → Users — the list shows everyone’s email, name, whether they’re staff and active, and when they last signed in — and click Add user.
Enter the person’s Email address — it’s their sign-in. Choose whether they use Password-based authentication: leave it Enabled and set a password, or Disabled for someone who will only sign in with Microsoft.
Click Save, then fill in their First name and Last name. Tick Staff status only for people who need it.
Giving them access to a site#
Open Installation → Installations, open the site, and add the person to Users. Click Save. Next time they sign in, the site is on their picker.
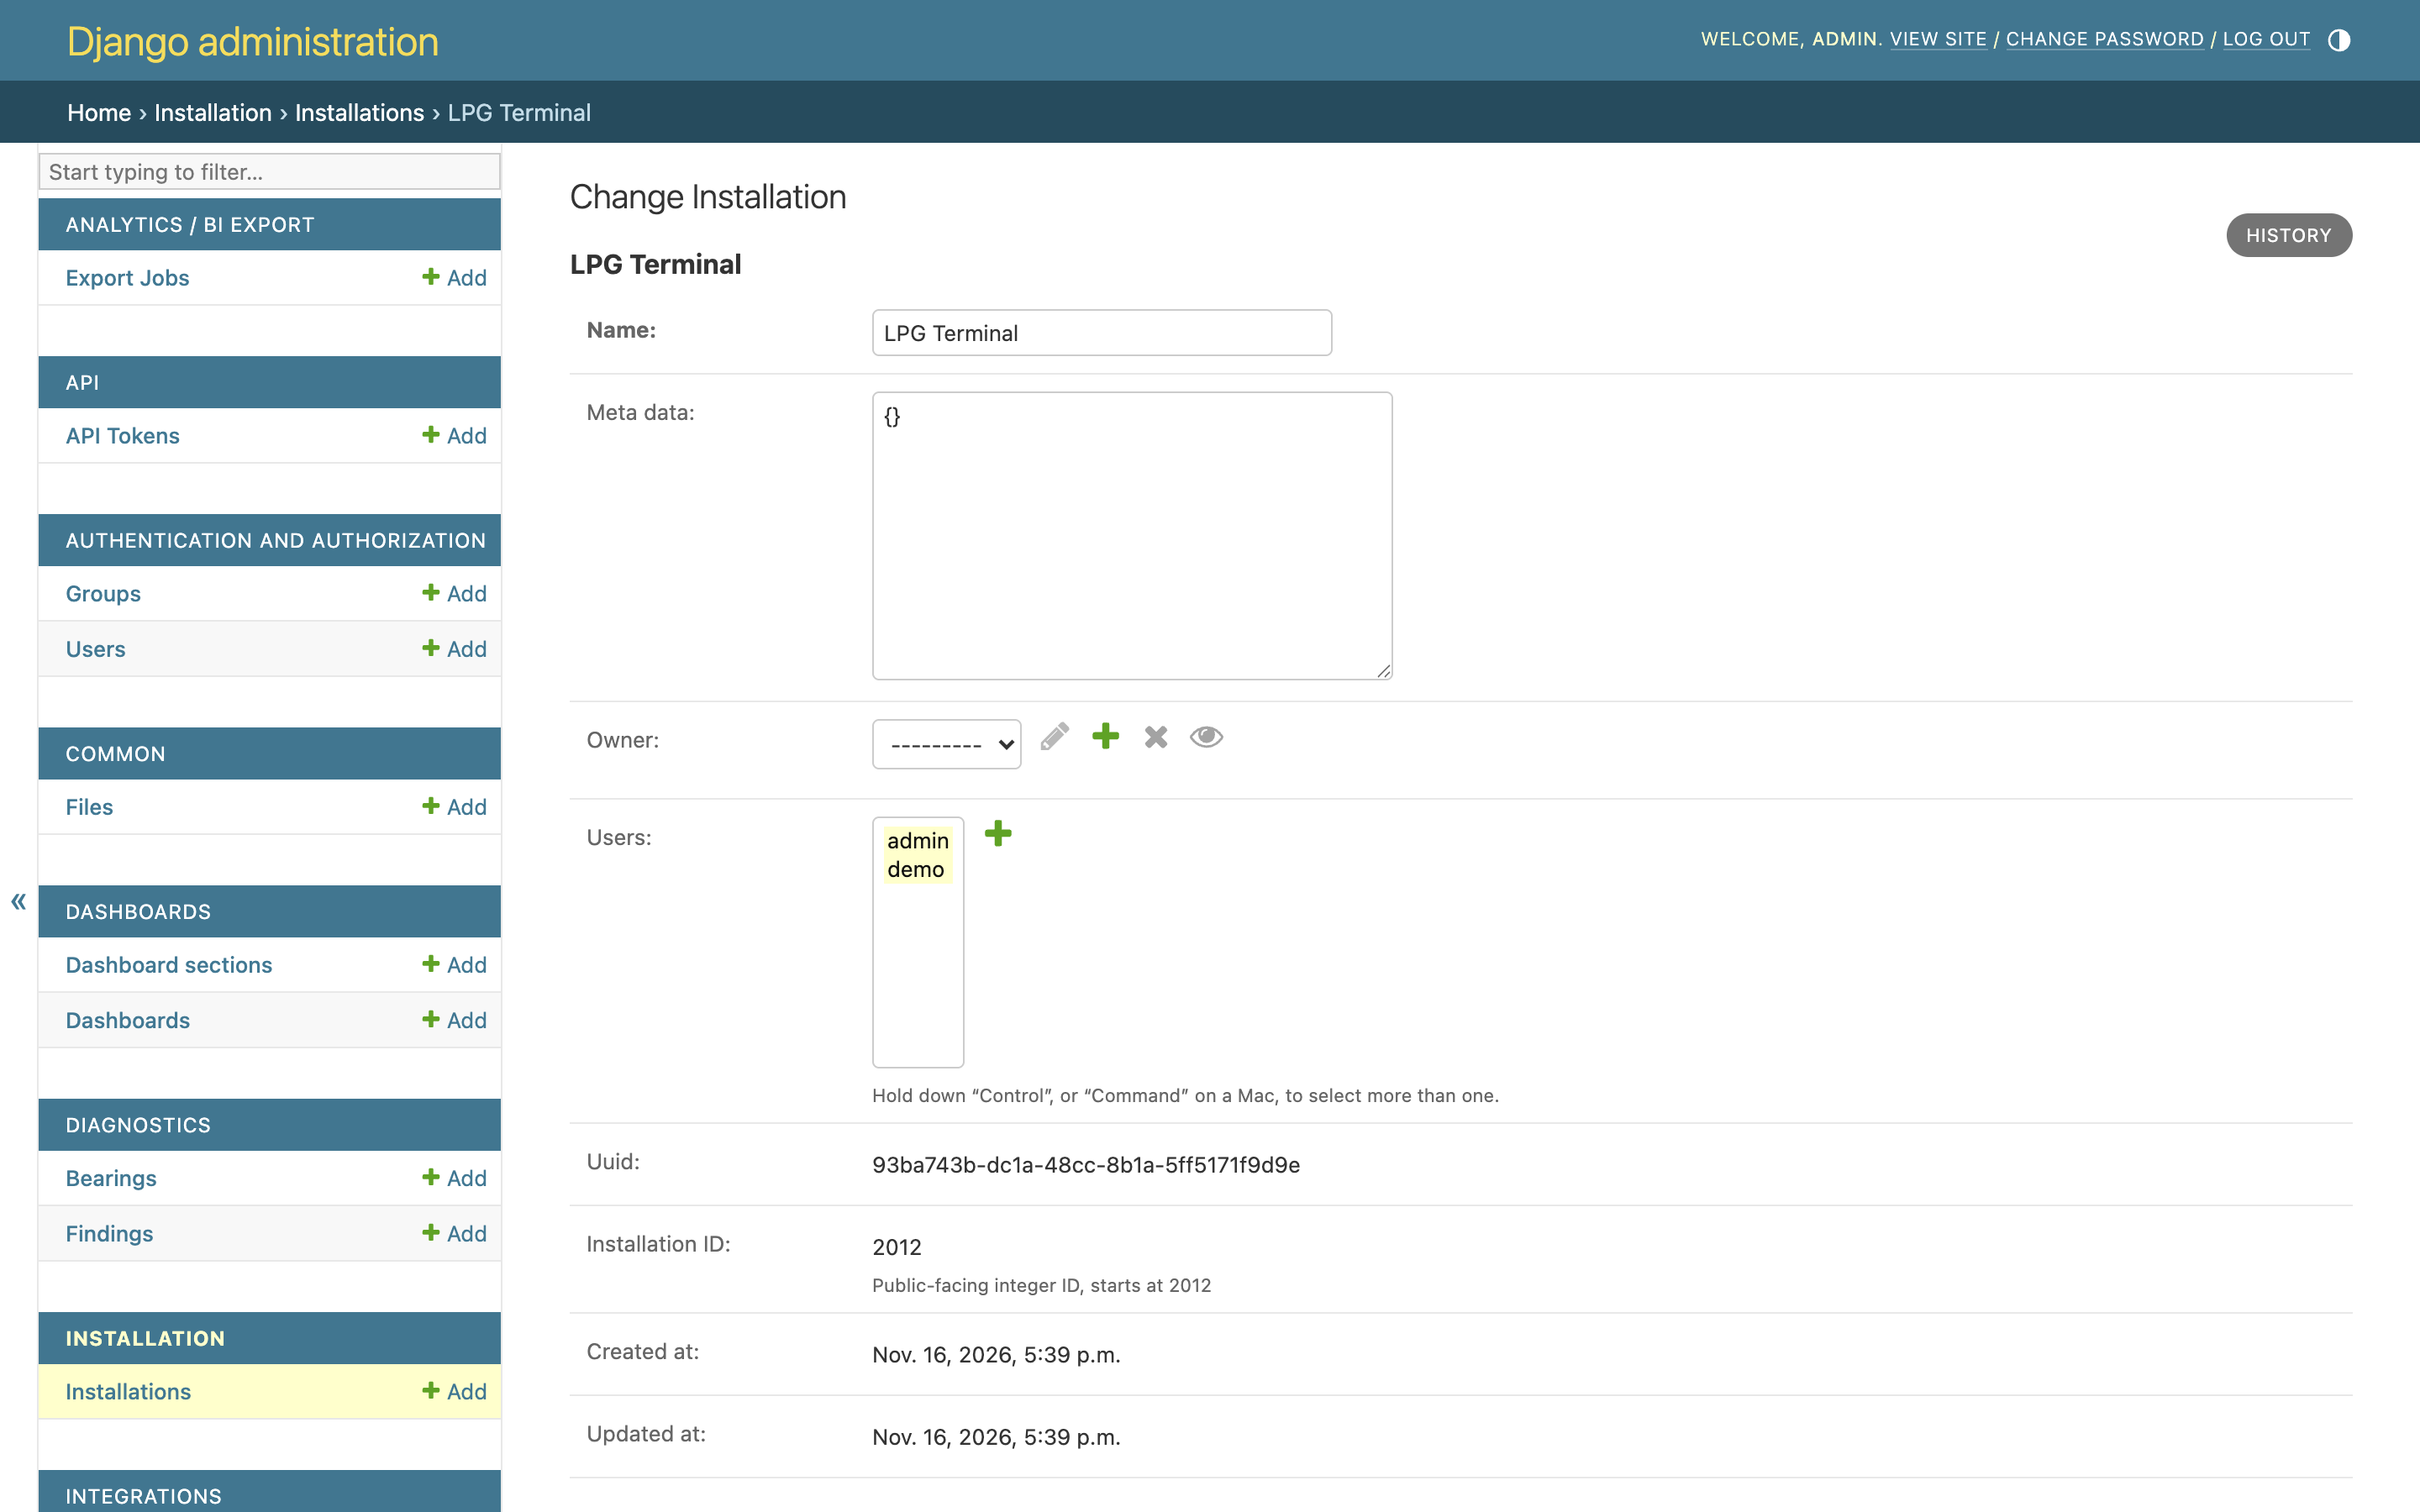
To remove someone from a site, take them off its Users list. To stop someone signing in at all, untick Active on their user account.
Heads-up: Membership decides what each person sees across Mechbase, so keep each site’s Users list to the people who actually work on it — it keeps their view focused on the data that’s theirs. Grant staff sparingly.
Note: Each person manages their own name, email, units, and email notifications on My Profile (Getting started). In Django administration, Notification settings shows everyone’s choices and can send a test email to selected users.
Signing in with Microsoft (single sign-on)#
If a customer uses Microsoft 365 (Entra ID), their people can sign in to Mechbase with their work account instead of a separate password. Setting it up takes one entry per customer:
In Django administration, open Single sign-on → Entra tenants and click Add.
Enter a Name, the customer’s Tenant ID (the Directory (tenant) ID from their Entra admin centre), and their email Domains, comma-separated (hotel.gr, hotel.com).
Leave Is active ticked and click Save.
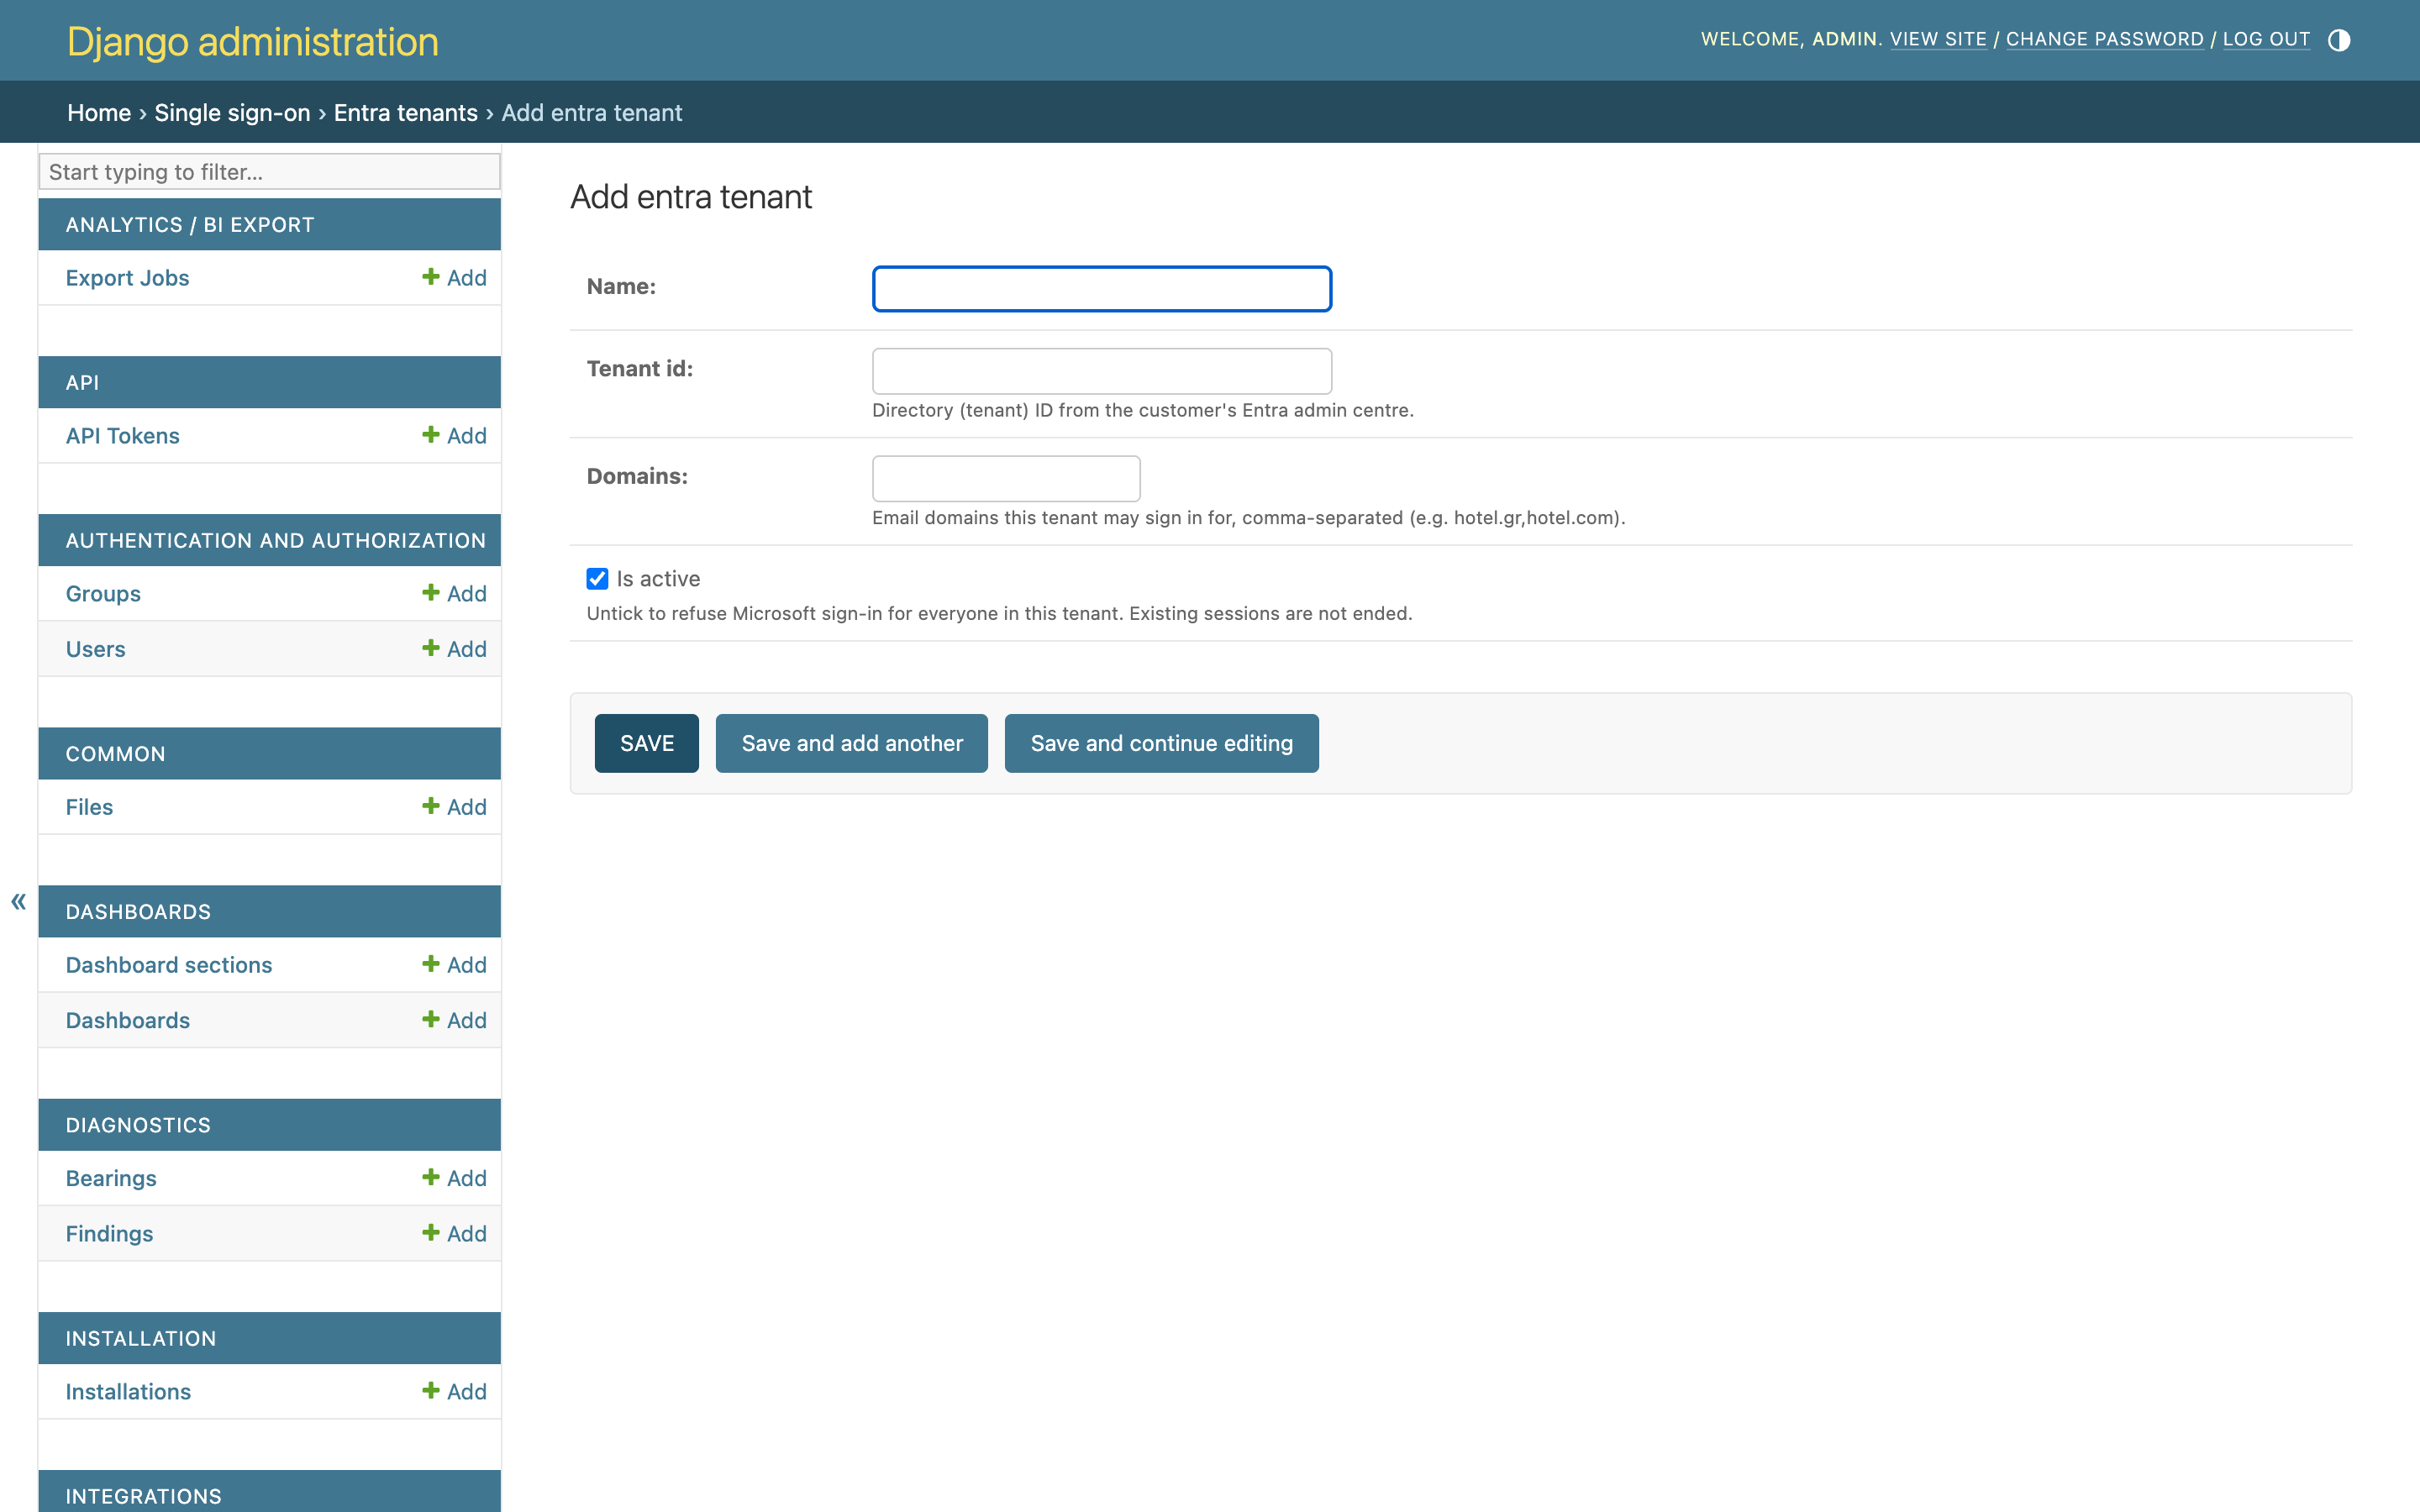
From then on, when someone types an email on one of those domains on the sign-in screen, a Sign in with Microsoft button appears.
A few rules keep it safe:
Single sign-on proves who someone is; it never creates an account or grants access. The person must already have a Mechbase user with that work email, and be on the Users list of their sites.
The first Microsoft sign-in links the account — only if the tenant is active, the email’s domain is on the tenant’s list, and exactly one active user has that email.
Unticking Is active stops Microsoft sign-in for everyone in that tenant (existing sessions aren’t ended).
To make an account Microsoft-only, disable password-based authentication on it.
Devices, alarm defaults, and other settings#
A few more pieces of administration live in their own chapters or screens:
MaintNode devices — claiming and connecting the hardware that feeds automatic readings is covered in MaintNode devices and automatic data (Setup → MaintNode Devices).
Installation-wide alarm defaults — the per-type alarm rules every point inherits (Measurements, trends, and alarms). These are maintained in Django administration under Alarm rules, so the whole site behaves consistently; points show them as Installation default. Set them early — with sensible defaults, most new points need no per-point alarm setup at all.
Dashboards can also be managed in Django administration, as well as on the board itself.
Per-user preferences — display name, units, and email notifications are set by each person on their own profile (Getting started); they don’t affect anyone else.
Between the in-app tools and the back office, that’s the full picture: build the plant and its rules in the app, manage the people and sites behind it in Django administration, and let everyone work from the same, current view of equipment health.
That’s the web platform end to end.